Okay, so now that I had acquired all of my materials for my bubbler, written the code to control it, and designed the base, it was time to construct the actual tube. This turned out to be the part that has been the most frustrating and required the most experimentation so far.
Laser Cutting the End Cap
I had never used a laser cutter before, but I knew that we had one at our maker space, and I also knew that this would be the best tool to get a nice, high-precision piece to cover the bottom of the tube. The first thing I did was to read through this tutorial on how to use Adobe Illustrator to draw your design.
Basically, what I needed was a 4 inch circle to cover the bottom of the tube, and inside that I needed a smaller circle where I could glue in the check valve that would let in the bubbles. That was pretty simple to draw. I used my calipers to measure the diameter of the check valve, and I added 0.1mm to the width just to make sure it would fit. In my head, I had planned to put the NeoPixel ring directly in the center of the bottom of my tube, but it turns out that it was too big to do that and still have room on the side for the check valve. Here’s the drawing I ended up with:
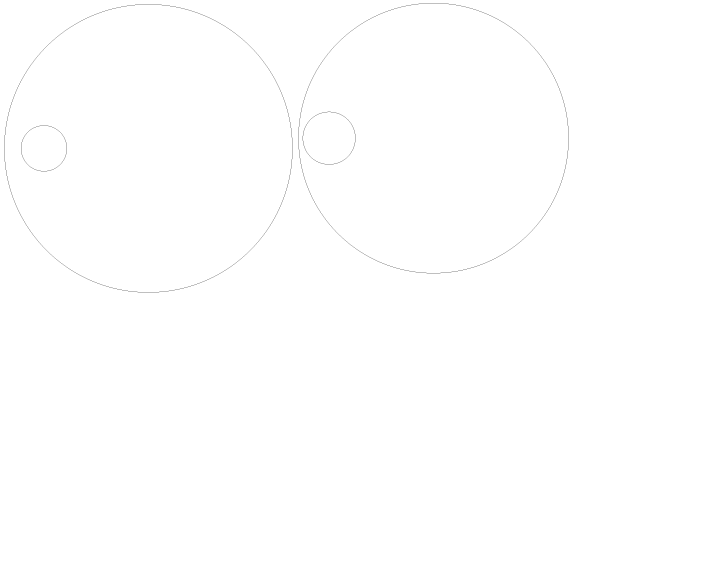
Adobe Illustrator drawing of bubble tube cap parts for the laser cutter
The first time I tried to cut this out with a laser cutter was a disaster. You can see the charred results:
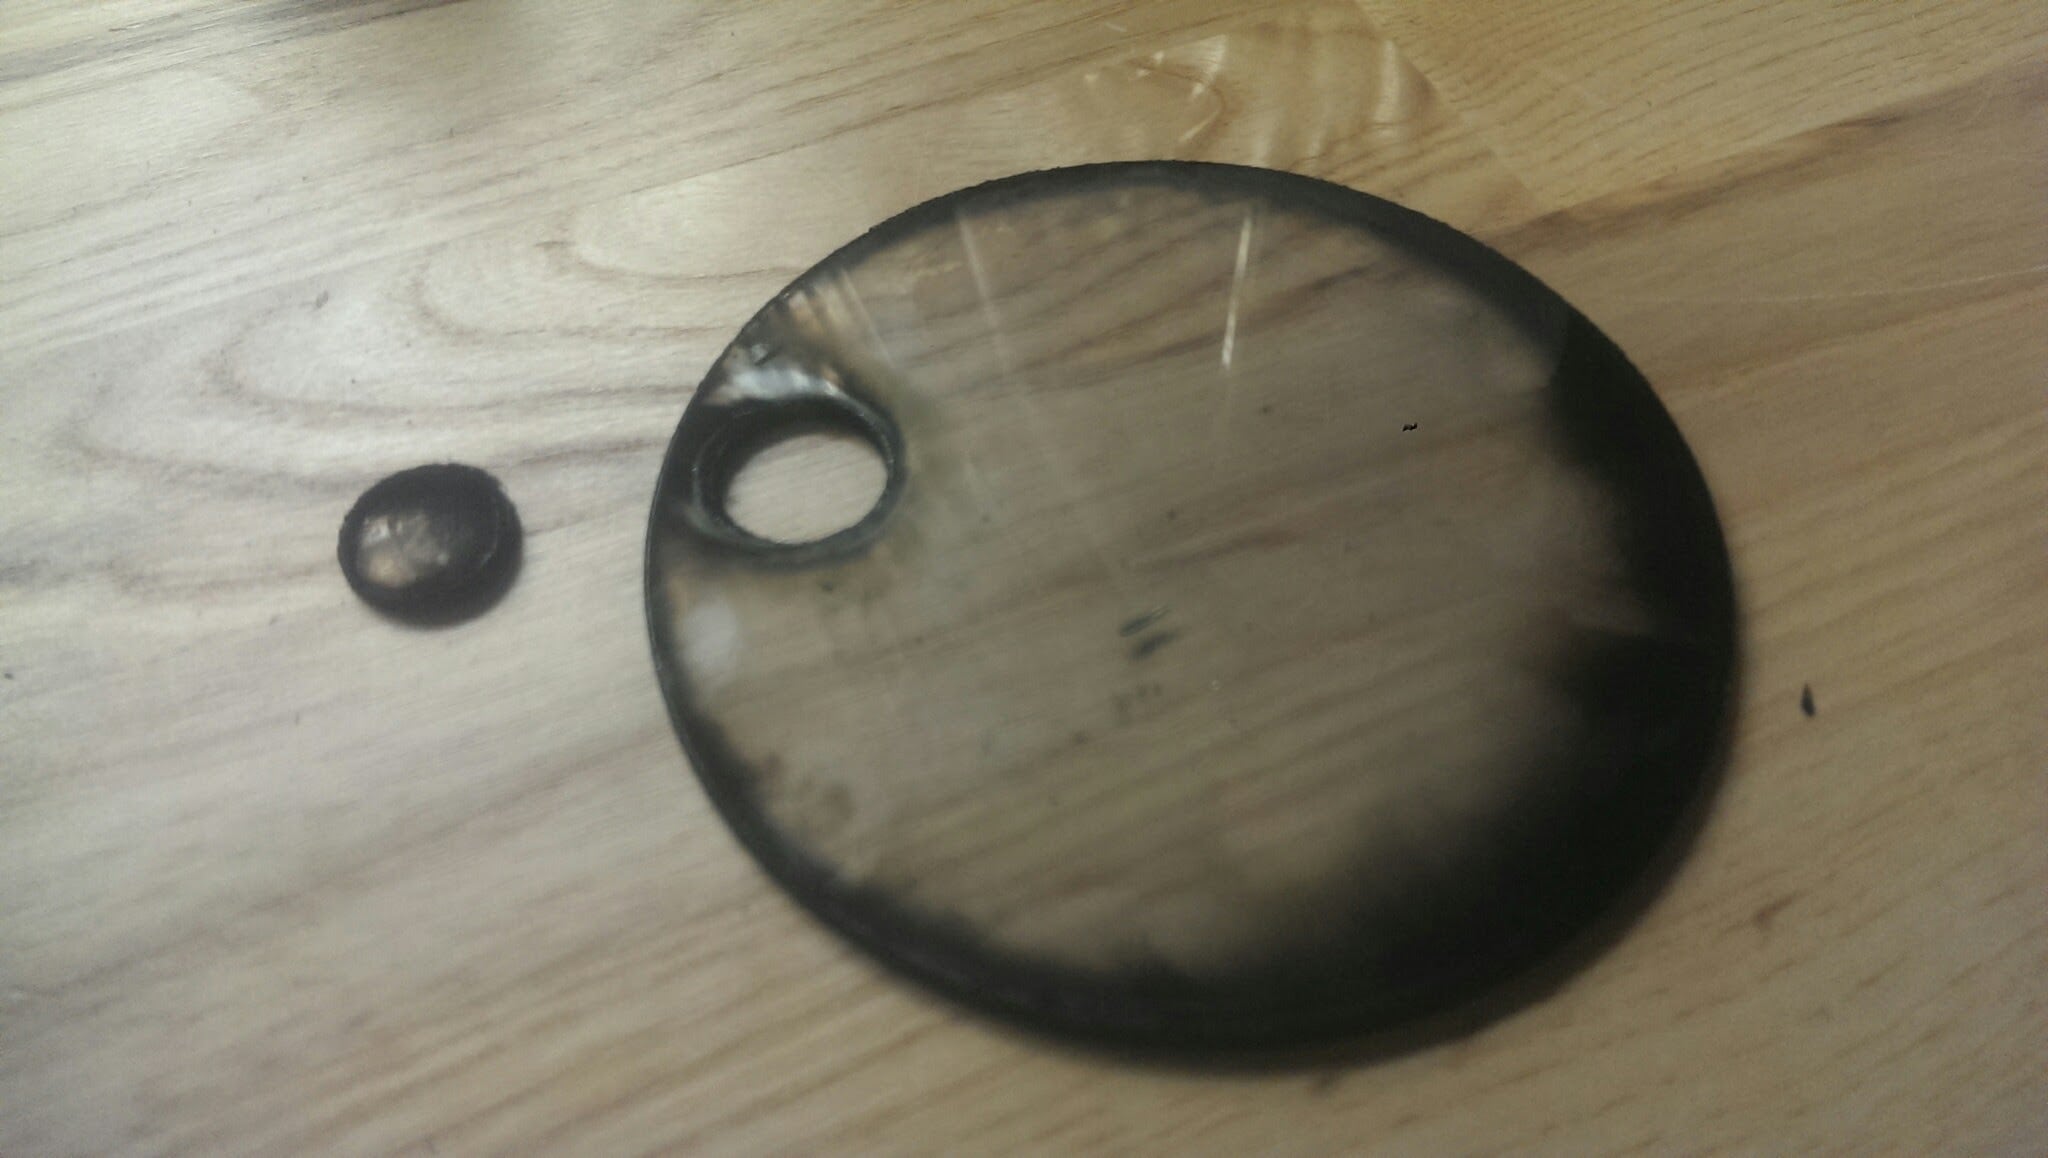
Charred Plexiglass from Laser Cutter
I tried washing the black part off, but to no avail. Then my friend Tim came to my rescue and gave me a pretty good tutorial on how to cut out acrylic (plexiglass) with a laser cutter:
At first, I only had a single layer of acrylic to serve as the bottom, but after some trial and error with various adhesives (described below) I ended up making a double layer designed to fit into the bottom of the tube. Here’s a couple of pics of the final product:


Making it Stick
So now that I had my bottom cap, I needed to figure out how to adhere it to the bottom of the bubble tube. First I tried using silicone adhesive, but in retrospect, that was pretty stupid. I never got as far as an actual test. A slight bump against the door frame on my way outside was enough to knock the bottom off the tube.
Next I went to my hardware store and spent about 20 minutes reading all of the labels on a variety of adhesives and epoxies. Confused, I asked one of the specialists in the store. This is one of those rare small-town hardware stores where all of the people working there have been building stuff since before I was alive. I figured they would have to know best. I ended up buying some Gorilla Glue Epoxy with an advertised strength of 3300psi. Since my tube would hold less than 4 gallons of water (around 30 pounds), I figured 3300 was going to be plenty.
Not so much. While I was able to make it stick, and also able to fill the tube with water successfully, the bottom cap popped off the second I tried to move the tube when it was full. That led me back to the drawing board and after a bit of searching, I found this video:
Turns out the stuff I needed is called “Weld-On” and comes in four different strengths. I bought some of the strongest stuff.

Weld-On 4 Acrylic Adhesive
I also followed, the video’s advice on sanding the bottom edge of the tube to get a really clean surface for the weld. The first time I tested it out, there were still a couple of leaks, but they were pretty easy to fill. Finally I got it working, but after a little destructive testing (picking up the full tube a couple of inches and letting it tap down on the ground) I found that the weight of the water was still enough to break the bond. At this point I was still using a single thickness of plexiglass. This is when I changed my design to the one you see above, which would offer two surfaces for my weld.
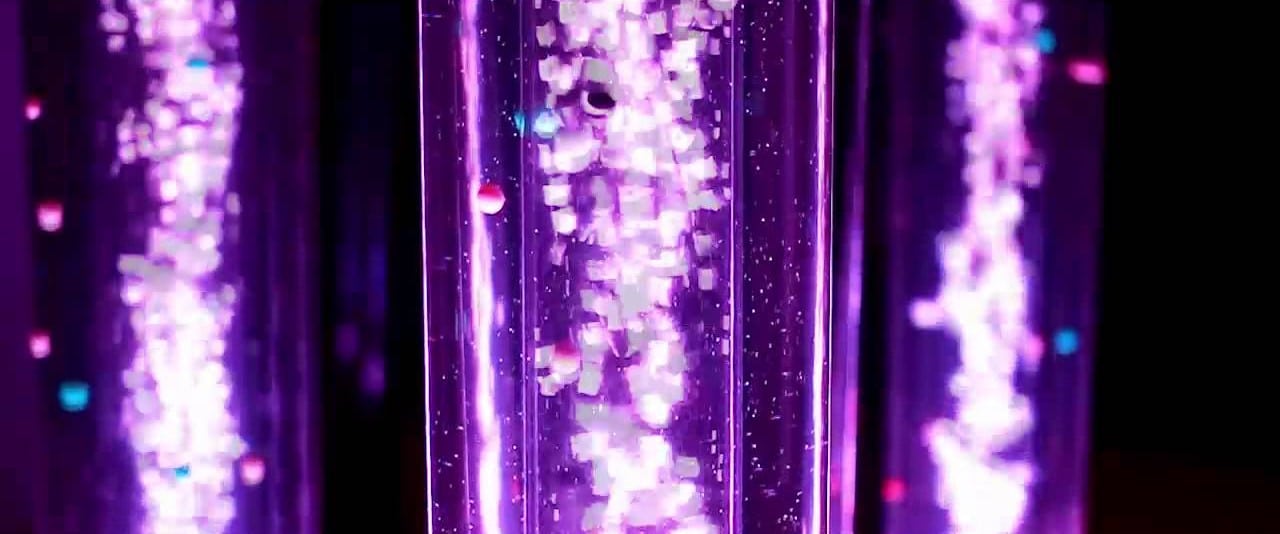
I still used the Gorilla Glue Epoxy to glue the check valve in place, and then I attached a diffuser that I picked up from a pet store. Here’s a video of the result:
I feel like we’re really getting close now. Just a few more steps!!! Stay tuned.