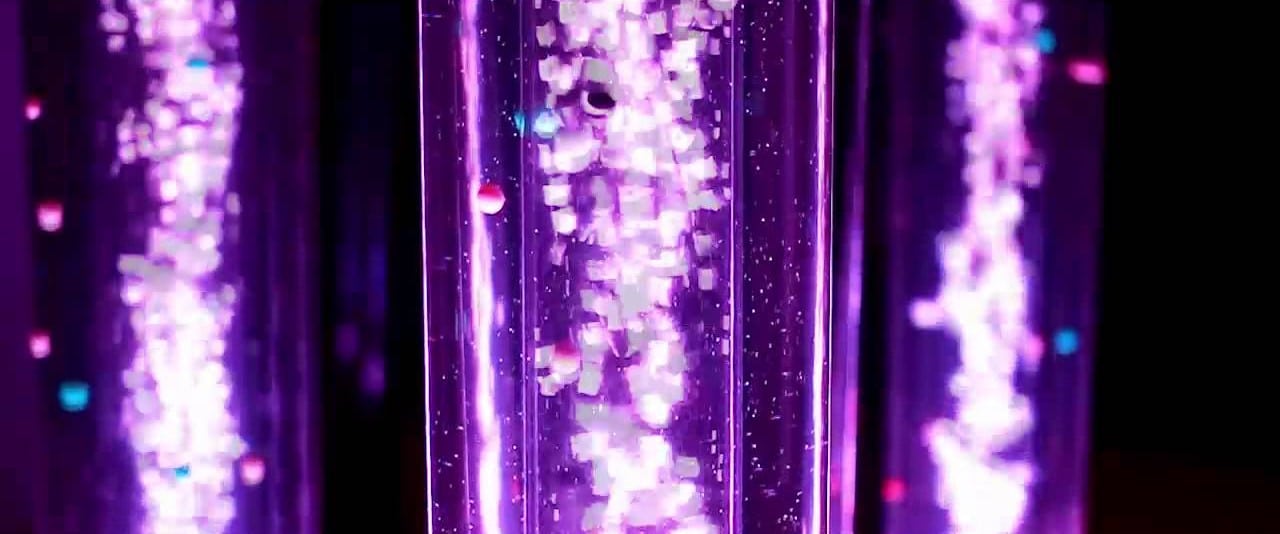
I figured out how to control the speed of the air pump with the Photon. This will be just a short update on the programming part of this project. (Follow these links for: Part 1, Part 2, Part 3, and Part 4.)
What DIDN’T Work…
Okay, so I fully admit that I’m a total newbie when it comes to electronics. I naïvely believed that controlling the pump would be as simple as hooking up the positive wire from the pump to one of the pins on the Photon and then adjusting the voltage on that pin via software. So I pulled out my breadboard and wired it up and … nothing.
Google to the Rescue
After some determined googling, I found this post on hackster.io explaining how to control a motor with a Particle Photon. I didn’t have the same kind of transistor that they used in the tutorial, but I found out that the arduino starter kit that I bought last year had some S8050 D331 NPN transistors in it. Since I was using a different kind of transistor, I wasn’t sure what size resistors to use, so I just left them out. Guess what? It worked!!! Here’s what it looks like:
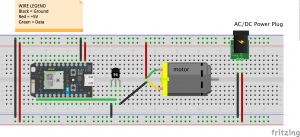
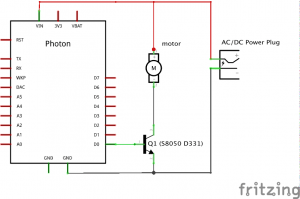
I also discovered this cool tool for drawing circuit diagrams and designing PCBs (printed circuit board) called Fritzing. Here is a diagram and schematic of the circuit that I built (without the NeoPixel ring):
I should stress here that I am a total noob at circuit design and you should probably NOT follow my lead on this part of the tutorial. You might fry your Photon and I don’t want to feel responsible for that, so USE AT YOUR OWN RISK.
After getting everything wired up like this, I was able to flash the tinker program onto the Photon and use it to control the speed of the motor. So now I can have lots of bubbles or just a few, depending on my mood. 😉
Programming
It only took a few lines of code to add the controls for the motor to both my mobile app and the firmware for the Photon. The mobile app code is still on GitHub. Here are some snippets of the code that I added to the firmware:
[cpp]// global variables
int pumpPower = 0;
void setup() {
// … code from before …
// set up the bubble pin
pinMode(BUBBLE_PIN, OUTPUT);
Particle.function(“setPower”, setPower);
}
int setPower(String power) {
pumpPower = power.toInt();
analogWrite(BUBBLE_PIN, pumpPower);
}
Parting Thoughts
So this project so far has gotten me really excited about building more IoT projects. I’m dying to get into designing and building my own custom PCBs. The folks at Particle have a fantastic tutorial on how to get started building PCBs, and an excellent series of blog posts on prototyping and PCB fabrication. I’ve discovered I’ve got a TON to learn about designing electronics. Fortunately, the interwebs are there to guide me. To start out I’ve started working on the MIT 6.002 Introductory Course in Circuits and Electronics via edX, their MOOC platform. Everything you need, including a digital copy of the textbook (which costs like $120 if you buy a hard copy!) is provided for free on the site. I’m sure you’ll be hearing much more from me and reading future tutorials on building your own PCB!


A great application for this is adding them to jukeboxes. Many old jukeboxes had blubbers on them, but they used a toxic liquid.
I’m not clear on the check valve system. Is it a closed system, or does the tube vent at the top to allow the air out?
Hi Tom,
The check valve restricts air/liquid flow so that it only goes one way. That allows you to have the air for the bubbles enter at the bottom of the tube without worrying about all of the water draining out. Currently, the top is open, but eventually I will add a lid of some sort that will allow air to escape, but hopefully prevent spillage should the bubble tube fall over.
Cool suggestion about the jukeboxes! Maybe I’ll make one of those next…
Cheers,
Morgan