

Feathers–An open source REST and realtime API layer for modern applications.
Recently, I’ve been using Feathers to generate REST and realtime data APIs for my Angular(2+) and Ionic(2+) apps. During development, it’s useful to have a local virtual machine that’s running the API. It’s pretty straightforward to swap out the live URL for the API server with the local dev API URL so that I don’t have to pollute my actual API server with dummy data and/or prior to launching the actual API server, I can run a local instance. The current versions of the tools that I’m using are:
- Vagrant 2.0.1
- VirtualBox 5.2.0
- Ubuntu 16.04 LTS
- NodeJS 9.x
- Feathers CLI 2.3.9
- MongoDB 3.6 (beta)
Many of these steps are identical or updates of steps from this older tutorial. Here are the steps to set this up:
Step 1: Install Vagrant and VirtualBox
First, grab the latest version of VirtualBox. If you have an older version installed, you can just install the new one using the downloadable installer and it will overwrite the previous version.
Next, grab the latest version of Vagrant. Again, you can just run the installer to overwrite any previously installed version with the latest one.
Step 2: Create a new directory for the box
Personally, I have a dev directory in my home folder where I keep all of my projects, so for me:
$ mkdir -p ~/dev/myapp_api
$ cd ~/dev/myapp_api
Step 3: Install and configure the latest Ubuntu
The default install of the Ubuntu Vagrant box may not have enough memory allocated for some npm packages to install properly. Here’s how to configure it correctly. First, initialize a new box:
$ vagrant init ubuntu/xenial64
Next, in your favorite text editor, you need to update the Vagrantfile (which was created for you in your current folder) so that it has enough memory. In my case, I also configured a “private network” IP address and a synced folder. Here’s what my Vagrantfile looks like with everything but the necessary bits removed:
Vagrant.configure("2") do |config|
  config.vm.box = "ubuntu/xenial64"
  config.vm.network "private_network", ip: "192.168.33.10"
  config.vm.synced_folder "./api", "/home/ubuntu/api"
  config.vm.provider "virtualbox" do |vb|
    vb.memory = "2048"
  end
end
Once you save this file, you can go back to the terminal, manually create the api folder, and fire up your box:
$ mkdir api
$ vagrant up --provider virtualbox
NOTE: I found that on one of my machines I had trouble with this command. It appears that for some systems the version of
curlthat ships with Vagrant doesn’t work. Follow the instructions on this thread to figure out how to replace it with one that works!
Once the box has started, SSH into it:
$ vagrant ssh
NOTE: You don’t have to use VirtualBox for hosting Vagrant boxes. You can also use another provider like VMWare if you know that platform better and are more comfortable with it. I prefer VirtualBox because it is FOSS.
Step 4: Install latest NodeJs
The nice folks over at NodeSource maintain a repo for installing/maintaining NodeJS on Ubuntu (and other Linux distros). Here are the commands:
$ curl -sL https://deb.nodesource.com/setup_9.x | sudo -E bash -
$ sudo apt-get install -y nodejs
Alternatively, if you’d like to install other versions of Node (like the current, non-LTS version) you can find the instructions on the NodeSource repo site.
Step 5: Tweak the NodeJS Installation
In order for npm to be able to install everything in /usr/local you need to change its ownership to the default user (not root). You also need to make sure that npm is configured to install packages to /usr/local which, I was surprised to find, was not the default. (In my case the default prefix was /usr.)
$ sudo chown -R $USER:$USER /usr/local
$ npm config set prefix /usr/local
NOTE: If you are on Windows, you’ll also want to set the following configuration flag for Node because for some reason, when running Node on Ubuntu using Vagrant/VirtualBox on Windows, it doesn’t like you to use symlinks:
$ npm config set bin-links false
Step 7: Install the Feathers CLI
Now we can install Feathers:
$ npm install -g @feathersjs/cli
Step 8: Install MondgoDB (optional)
At this point you can install MongoDB or any other database backend you intend to use with Feathers. Feathers is designed to be compatible with a very wide variety of backend databases. Recently, I’ve been trying to get in the habit of using NoSQL databases. (Also, I’ve had some trouble using NeDB (which Feathers uses in their turorials) on an Ubuntu virtual box. I haven’t figured out how to resolve these issues, yet.)
Follow these instructions for installing MongoDB on your server. In addition to these instructions, you’ll also need to do the following to tell Ubuntu to automatically restart Mongo whenever the system restarts. Create a file at /etc/systemd/system/mongodb.service by typing the following at the command line:
$ sudo nano /etc/systemd/system/mongodb.service
Paste the following code into the file and then hit CTRL + x to exit, y to save and then enter to get back to the command line:
[Unit]
Description=High-performance, schema-free document-oriented database
After=network.target

[Service]
User=mongodb
ExecStart=/usr/bin/mongod --quiet --config /etc/mongod.conf

[Install]
WantedBy=multi-user.target
Then type the following command to enable the service:
$ sudo systemctl enable mongodb
It is not necessary to adjust the firewall since we’ll only be accessing MongoDB locally from our REST API server.
Step 9: Tweak hosts File (optional)
This is not strictly necessary, but I prefer to use a “pretty” URL with my local API server, instead of a raw IP address. Follow these instructions for updating the hosts file on your host (NOT virtual) operating system. Assuming you used the same IP address for your virtual box install that I did up in Step 3, you’ll want to add a line in your hosts file that looks something like:
192.168.33.10 api.myapp.com.dev # local dev API server for myapp.com
Of course you can substitute any URL that you’d like here, but be careful not to use an actual URL that you really want to visit on the web because it will block your computer from having access to it.
Step 10: Create a Feathers App and Tweak Config
First, from the terminal, within the virtual machine, navigate to the app directory, then generate your Feathers app:
$ cd api
$ feathers generate app
Follow the prompts and answer the questions as they come up. The defaults are probably fine for most of the questions, although I’d recommend coming up with a more unique app name, and also a good, short description.
Second, I like to use port 80 for my API servers, just for the cleaner URLs. To do this with Feathers, modify the default configuration in config/default.json to look like this:
{
  "host": "localhost",
  "port": 80,
  "public": "../public/",
  "paginate": {
    "default": 10,
    "max": 50
  }
}
The only thing you should have to change is the port number. You can either edit this from the virtual machine using a terminal-based editor like nano or you can edit it in the host OS in your favorite editor. The file should be at /path/to/your/feathers/api/config/default.json.
Step 11: Start Up App and Test It
Okay! Assuming all has gone well so far you can now start up your app and test to see that it works. Since we’re running on port 80, we have to use sudo to get the app to start. From the ./api folder in your terminal run the following:
$ sudo node src/index.js
And then navigate to, e.g., http://api.myapp.com.dev in your browser. If all has gone well you should see the following:
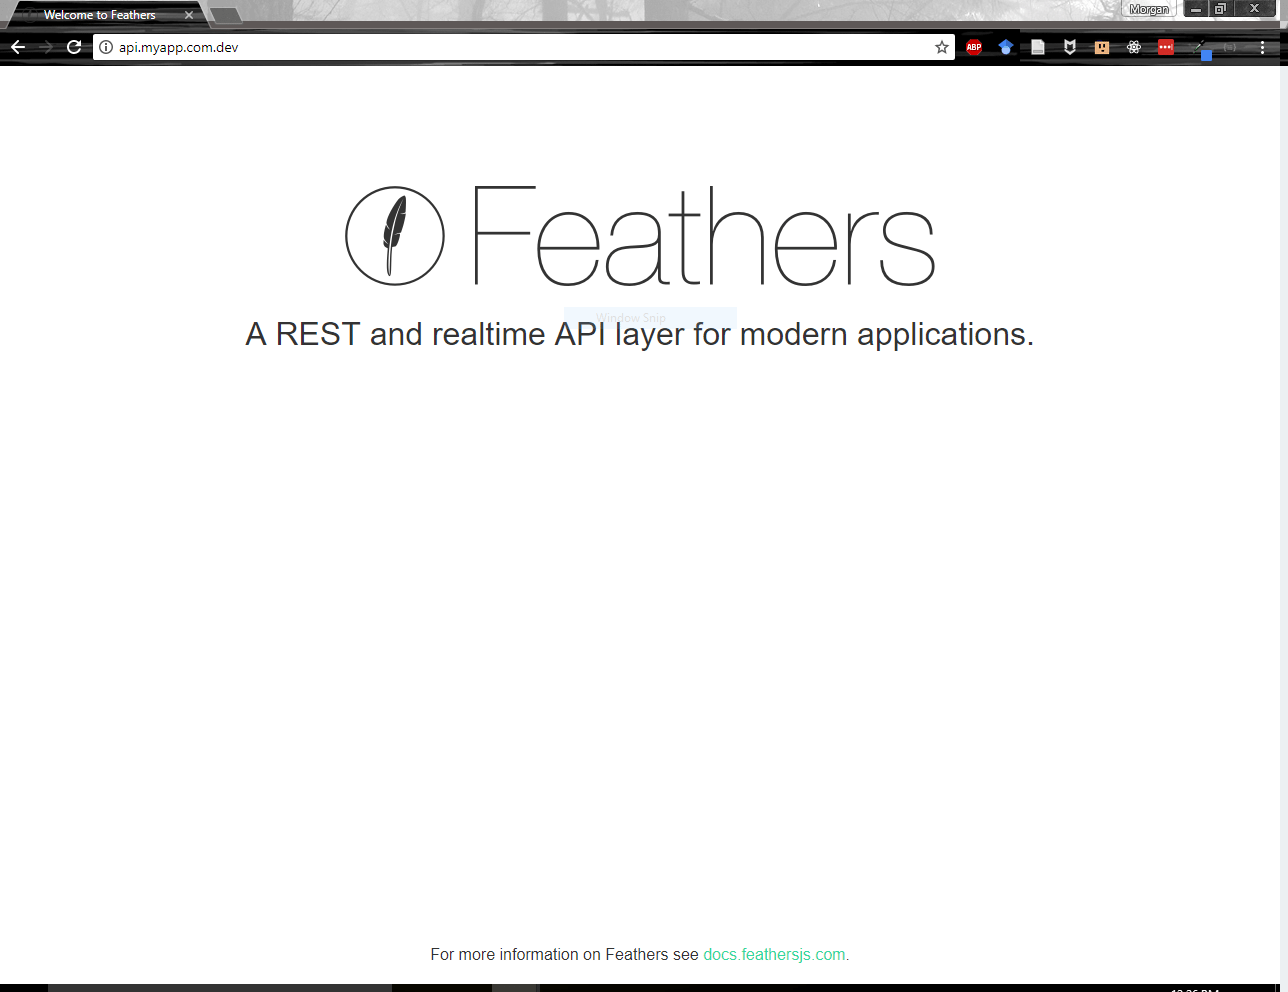
The default home screen for a Feathers app
Conclusion
Hopefully at this point you’ve got a foundation for creating your REST/realtime API service. In my next tutorial, I plan to show you how to configure Feathers to work with mongoose and MongoDB and also how to consume your new API from an Angular/Ionic app. Stay tuned!
Webmentions
[…] follow steps 1 through 3 in my previous tutorial. NOTE: in your Vagrantfile you may need to use /usr/vagrant/api as the directory instead of […]